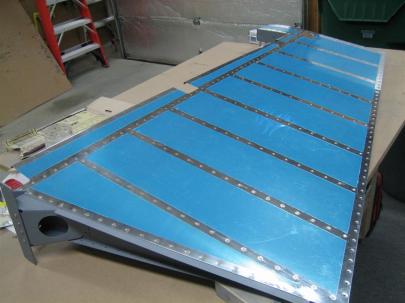
After having performed the last of the rudder skin prepping the other day, I was ready to get riveting.
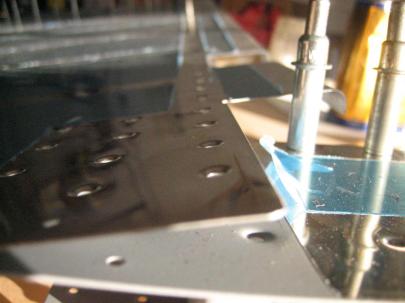
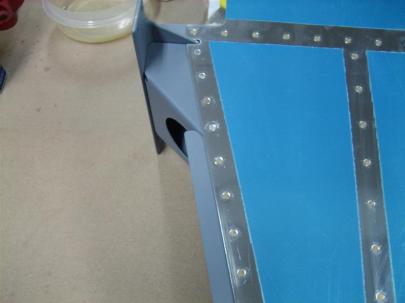
First thing, I pulled most of the clecos off of the leading edge so I could have access to the upper forward edge of the skin. It’s hard to see in this picture, but I gently “edge-rolled” the leading edge so the lap joint would sit flush after riveting.
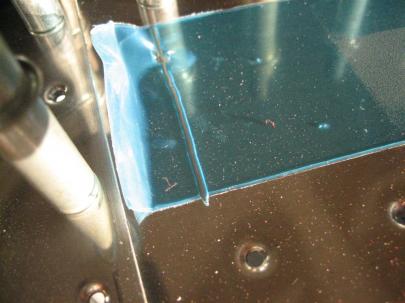
Because my trim job on the blue vinyl was a little long, I trimmed about another inch off. You can see the very slight edge roll in the reflection of the two clecos just left of the joint. I’m happy with it, and it sits very well on top of the counterbalance skin.
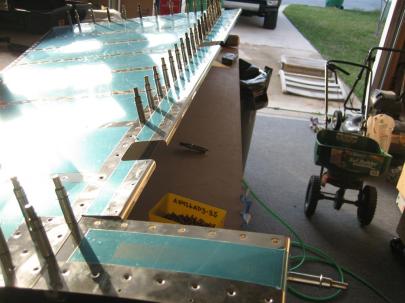
Then, I started riveting. Here, You can see I’ve riveted the counterbalance skin to counterbalance rib joint, and every other hole down the leading edge. I’m just removing clecoes here to start finishing the leading edge.
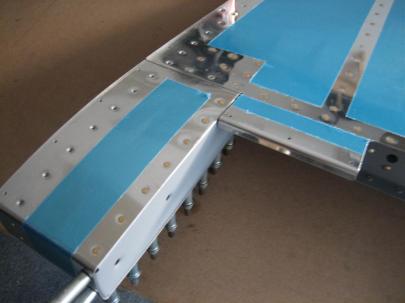
This was after about 50 rivets had been set. We headed in for dinner at this point.
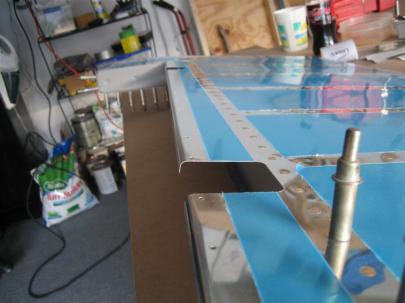
Nice rivets, so screwups, but not as nice as the backriveted stiffeners. I thought about backriveting here, but I would only be able to backrivet one side, and I didn't want them being dramatically different.
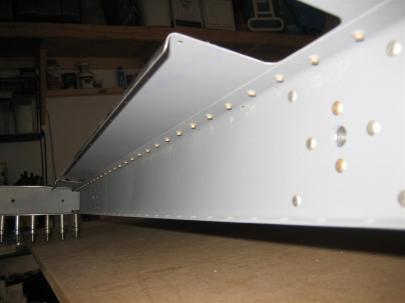
And a picture of the shop heads. A few of these (maybe 5th from the right and similar) will need a few more hits with the gun, they don't look quite set enough.
Before dinner, I went and got my mail, and my internal rudder stop had shown up. $25 to get the external stops off the airplane. Worth it for me, although I think Craig is making a killing on these. If you want one, order them at the VAF posting.
After dinner, the girlfriend wanted to work out in the garage some more (what a crappy girlfriend; she wants to work in the garage all the time… /sarcasm off), so I finished up the left side of the rudder.
I was going to take more pictures, but I got distracted because I riveted the skin to bottom rib WITHOUT INCLUDING THE FAIRING ATTACH STRIP.
Awesome, that was 16….no….17 (i messed one up putting it back in) rivets I had to drill out.
Perfectly.
Good.
Rivets.
<sigh>
But, I did get solid rivets in all of the holes near the horn brace. My 3″ yoke with a 1/2″ flush set kind of looks like a longeron yoke, so I was able to reach all of these.
All in all: 84 rivets set, 17 drilled out (ugh!) over an hour and a half.
