Before dinner, I managed to finish off the last few things on the right rudder skin and get it clecoed and riveted to the rudder skeleton. I still have to install the counterbalance, finish and prime the tip rib, and get those installed before moving on to the trailing edge, and then leading edge rolling.
I’m holding off on the counterbalance because of the fasteners. The plans call out a AN509 screw and a AN365-1032 self-locking nut to hold the counterbalance in.
I know the FAA (AC 43-13) has deemed that an acceptable method for securing something permanently, but given the fact that I won’t even be able to inspect these fasteners (well, I could tell if they were loose if the screws turn from the bottom side, but would have to open up the tip rib to tighten them if needed), I wanted something a little more permanent (maybe not actually any better, but I’ll be able to sleep better at night).
I’m going to use MS17825-3 Locking castle nuts. They are also self-locking, but these will allow me to drill a hole in the screw and insert a cotter pin. I would bet that I also stick some red loctite on them. It would be a good bet.
Then I started looking around at the other fasteners used on the tail. All of the flight controls are installed using self-locking nuts, no cotter pins or safety wires anywhere.
I thought it would be easy ($20?) to put in drilled bolts with self-locking and cotter pinned nuts, so I made the following order from ACS. This should cover all of the counterweight and flight control connection installations for the tail.
17.00 of MS17825-3 LOCKING CASTLE NUT
1.00 of MS17825-4 CASTLE NUT
1.00 of AN3-10 BOLT DRILLED
4.00 of AN3-5 BOLT DRILLED
6.00 of AN3-7 BOLT DRILLED
100.00 of MS24665-132 COTTER PIN
1.00 of AN4-14 BOLT DRILLED
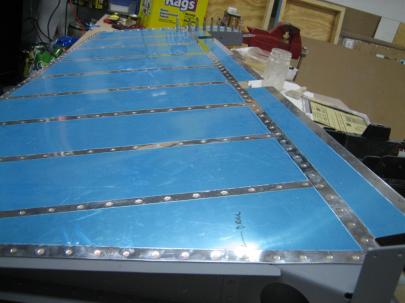
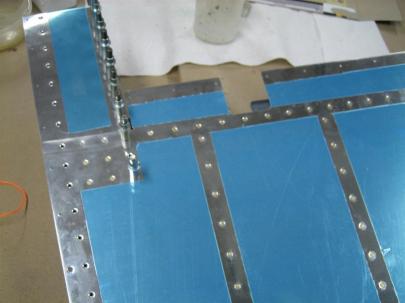
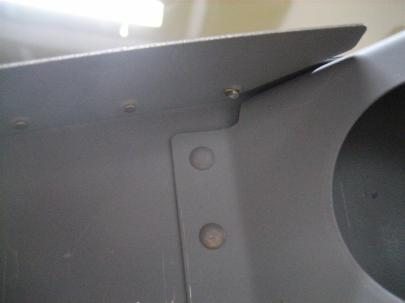
Then I got started on riveting. I didn’t take these pictures until after I had gotten everything done, so no intermediate shots. Sorry.
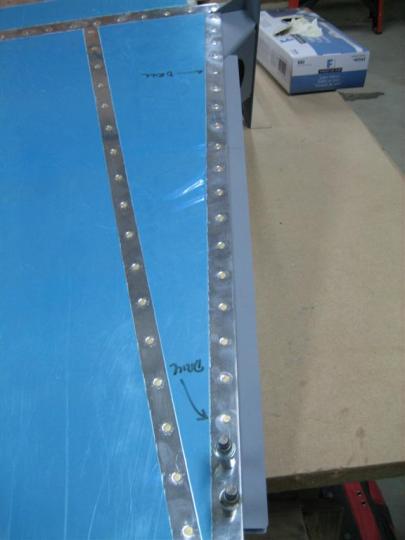
Bottom edge of the right rudder skin. This time, I didn't forget the fairing attach strip. (I need to figure out what to do about the last two holes. I'd like to avoid blind rivets, but may need them after all.)
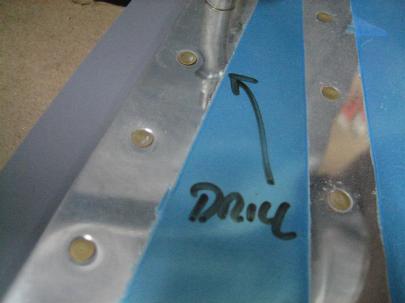
There were only two rivets that needed to be drilled out (you can see both marked on the first picture today).
Here’s the other one. It’s just sitting a little proud. Probably okay, but I am anal about this stuff.
Also, I noticed something about the alignment of the rudder top fairing attachment holes. Look at the holes on the left side of the picture (lined up from one side to the other) and then look at the holes on the right side. It appears as if Vans put the aft-most holes in slightly different spots so the fasteners wouldn’t hit each other when installed due to the low clearance in that area.
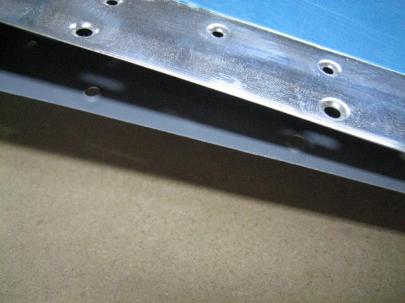
At first I thought there was something wrong, but then realized they were just thinking ahead. Bravo.
One hour today. 18 rivets on the bottom edge, 48 on the leading edge, and 6 where I could reach on the counterbalance skin to right rudder skin lap joint. That makes 72 total for tonight. 1333 total set, 85 drilled out for a batting (drilling) average of 6.38%.
