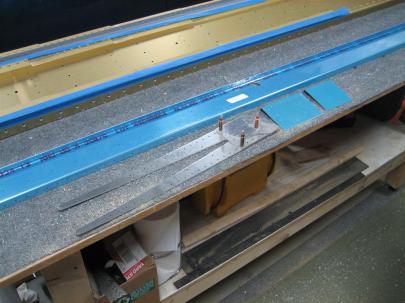
Well, I managed to motivate myself out into the garage a little this weekend.
I only have a few more steps on the left main spar, and the the left rear spar, before I really need to get my butt in gear with the rib deburring and finally build a wing stand.
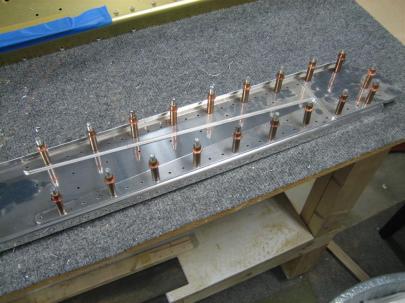
Today, I focused on countersinking the screw holes for the tank attachment.
Reading back over my own old post (in which I reference some other builders), I found this table. I’ll copy it here, too.
|
||||||||
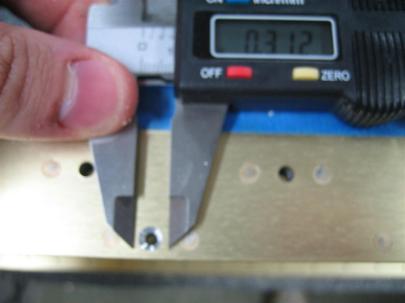
So, I broke out my trusty digital calipers, zeroed them out, and dialed in .312.”
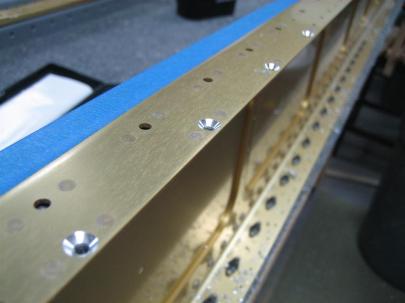
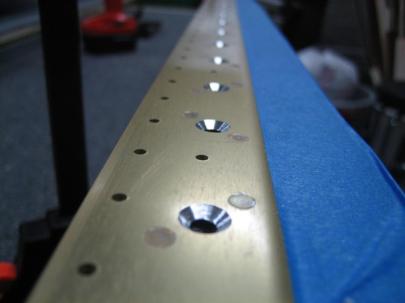
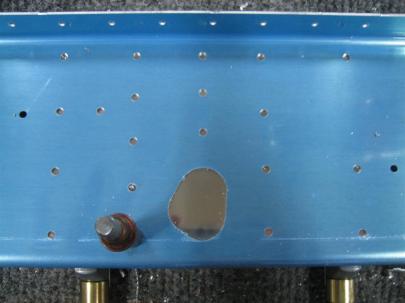
So, with microstop countersink cage on the front of my drill, I got to work. Here are the smaller countersinks for the #6 inspection plate attach screws on the bottom flange of the left spar.
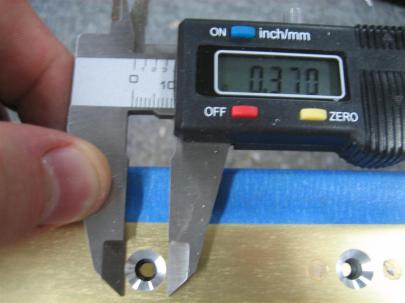
Then, I moved up to the 0.370″ countersinks for the larger #8 tank attach holes.
Somewhere in here I flipped the spar over and finished all the countersinking on the upper flange of the left spar.
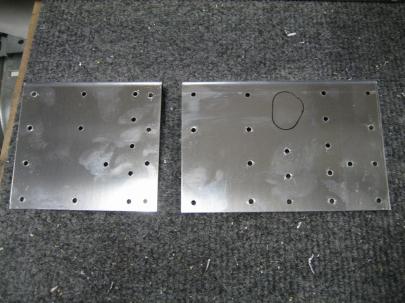
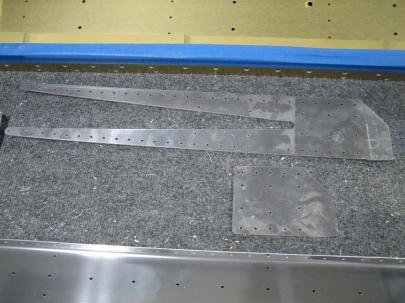
After the countersinking, I scrounged up the left rear spar and corresponding doubler plates.
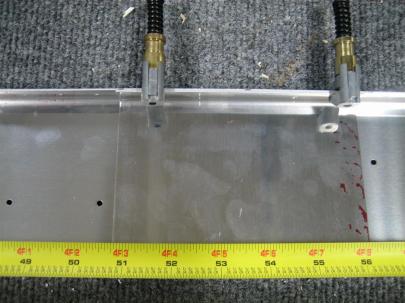
Per the plans, I grabbed the W-707E and aligned it 50 3/4″ from the outboard edge of the rear spar.
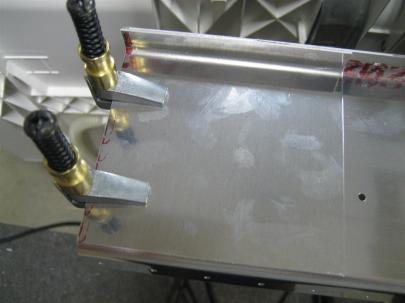
W-707F is laterally aligned with the outboard edge of the rear spar channel.
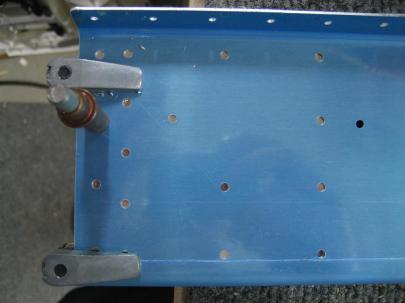
Here’s W-707E, ready to drill.
Then, I moved outboard to W-707F.
I moved inboard and matchdrilled all of the reinforcement fork holes.
I pulled the doubler plates and reinforcement fork off and set them aside.
Next up, deburr all parts, along with finishing any last minute tasks like dimpling where I can’t reach later, then prep for priming, prime, and rivet the rear spar together.
1.5 hours.
