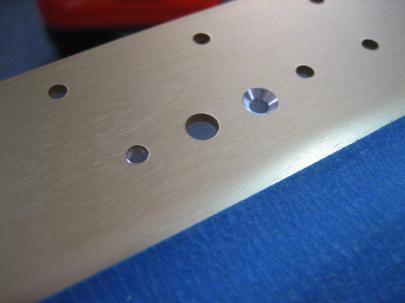
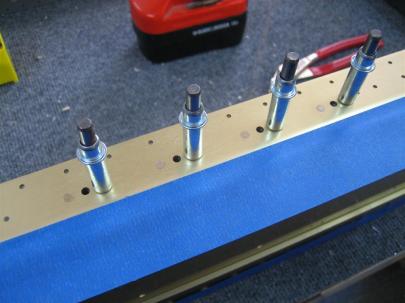
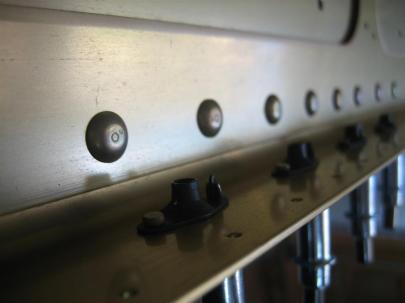
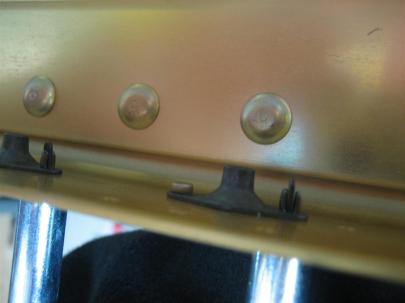
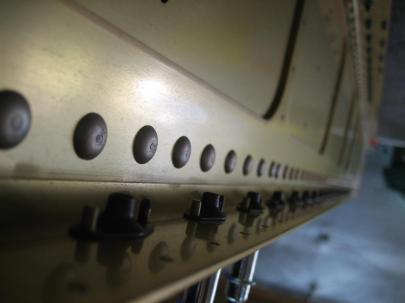
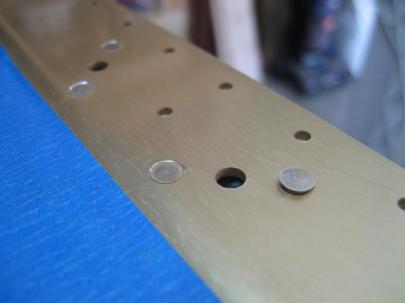
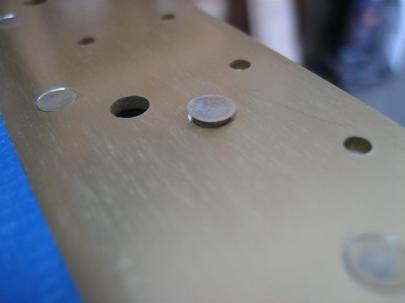
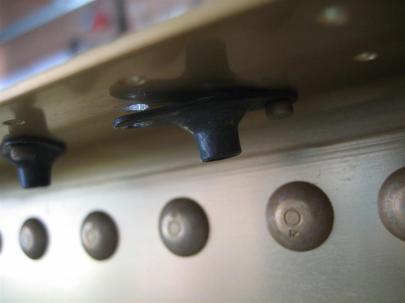
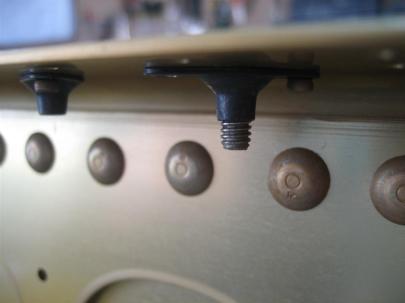
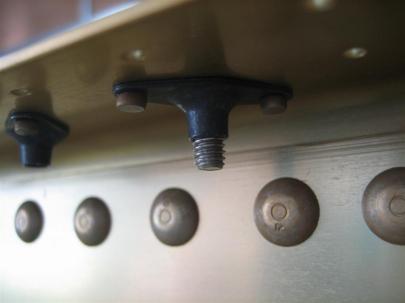
After getting a ton of housework done, I managed a quick half hour in the garage to finish up the nutplates on the left spar.
I took some pictures, but they are just like the ones from the previous post, so I’ll be short with the descriptions.
I found it a little quicker (and less tiring on the drilling arm) to do 4 at a time. I’d countersink four sets of holes for the nutplate attach rivets, then cleco one side of a K1100-08 nutplate in, squeeze the rivet, and then take out the cleco and rivet the other side in. Then move on to the next four.
I’m sure it didn’t actually save me any time, but for some reason it seemed quicker.
Everything was going great until the VERY LAST RIVET.
[sigh]
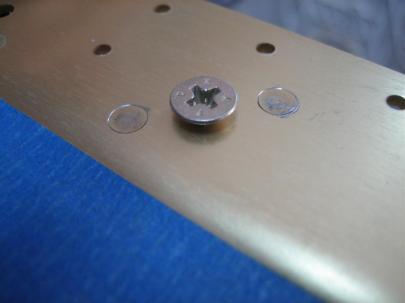
After successfully drilling the rivet out. I was left with a crooked nutplate. Hmm.
I didn’t have a clamp small enough to hold the nutplate in place while I reset the rivet, so I grabbed one of the #8 screws (forgot the part number, sorry), and screwed it in gently.
asdf
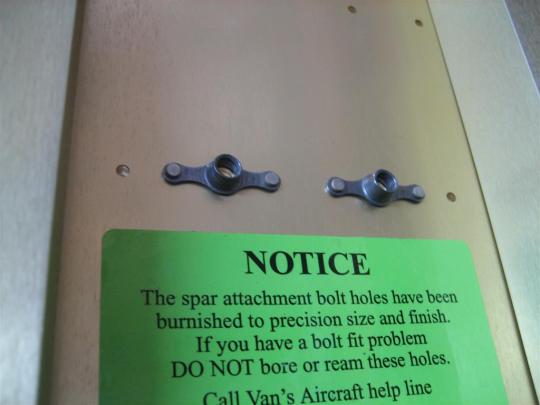
Last, but not least, I squeezed the AN426AD3-6 rivets for the K1000-4 nutplates near the spar root.
64 Rivets, ONE drilled out in 0.5 hours.
Oh, and then I went for a run with the pups. (And by run, I mean rollerblade.)
