Well, after a $15 stop at Napa ($10 for primer, $5 for sensor-safe RTV), I got back to work on the rear spar.
I spent a lot of time just kind of staring at everything today. The instructions are careful to point out that at the inboard part of the spar (where the reinforcement fork is), you can’t reach the spar flange holes with dimple dies for later dimpling, so you should do it now.
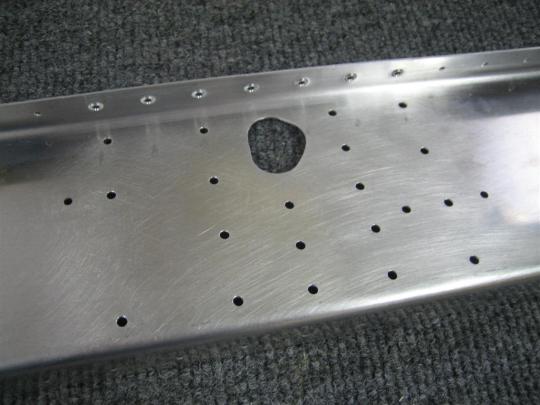
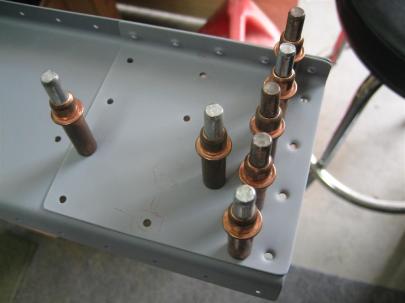
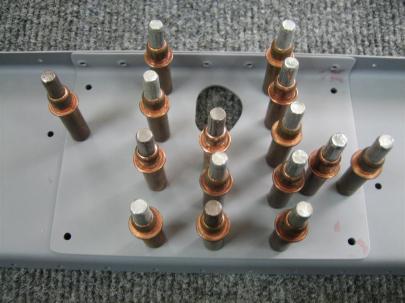
With that in mind, I wanted to make sure I got everywhere that may need dimpling later, so I also dimpled above the two (middle and outboard) doublers. You can see in this picture (the middle doubler) where I decided it would be a good idea to dimple (drill, deburr, then dimple, of course) the flange holes. I did this for both the spar and the doubler plates, which also have flanges on them.
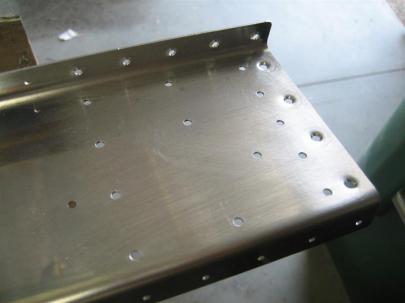
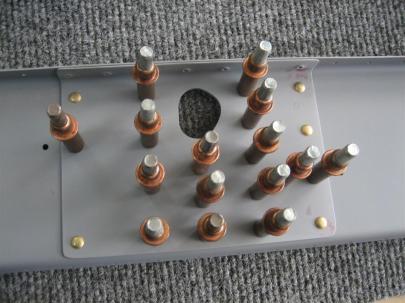
Same thing here. Also, I dimpled the 4 outboard holes (instead of countersinking), per previously approved builders who have talked to Van's.
I got back to thinking about the tank dimple dies, and whether they were really helping with skin-to-structure attachments. The idea is the the tank dies (which are deeper to account for pro-seal while riveting the tanks), when used on the skeleton, allow the regular dimple in the skin to sit better once riveted.
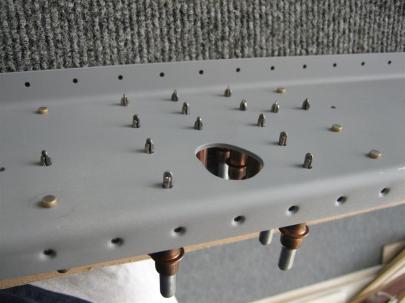
I got out some scrap, dimpled the “skin” with regular dies, and dimpled the “skeleton” with one tank and one regular die.
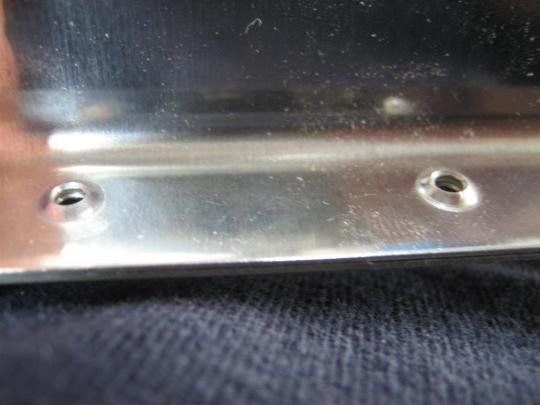
You can see on the left, those are the regular dies. The ones on the right is a regular die sitting in a deeper tank dimple. The tank dimples didn’t help anything sit better, because they were both fine.
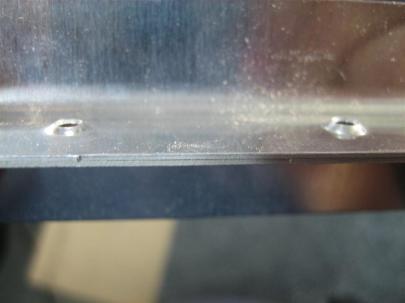
The tank (deeper) dimple is on the right. You can see I'm not having any "seating" issues on the left.
Anyway, I think I am going to go back to using the regular dies on everything. Enough about that, though, let’s prime!
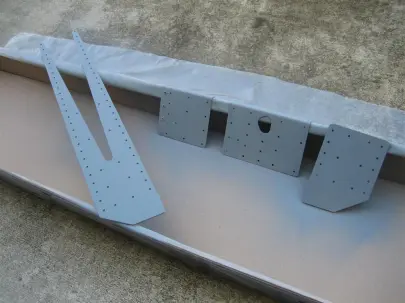
The rear spar components, getting primed after some more edge finishing, washing, drying, and positioning in my wood floors boxes.
Also, I went back and masked off the spar where I had countersunk.
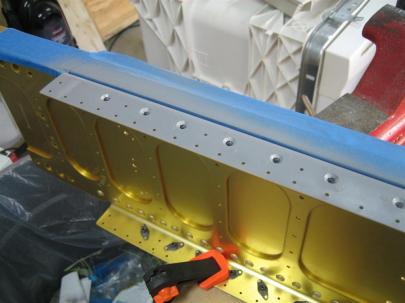
Some of the nutplate attach rivets are not as flush as I would like them to be. I may get a rivet shaver and shave some of these down and reprime. We'll see how the tank skin sits on them.
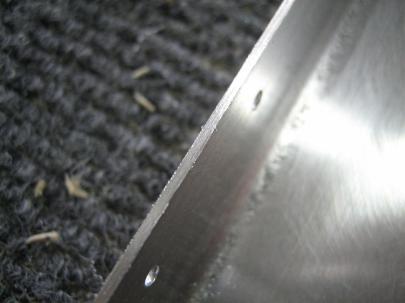
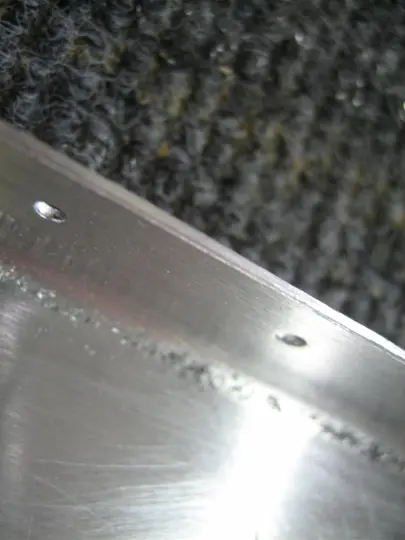
Back on the rear spar, I posted a couple pictures of my edge finishing procedure. First, use the Permagrit block to smooth out the tooling marks. This picture is the resulting burrs that need to be deburred.
Then I used my “v” deburring tool to knock off the 45°.
After blowing the aluminum dust off with shop air and a good wipe-down with MEK, I took the spar outside so I could paint the grass with my overspray.
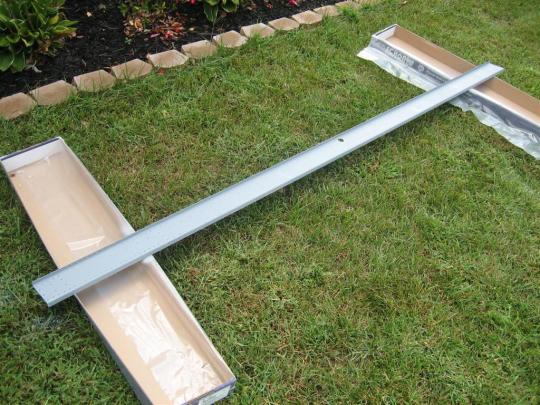
I think this is the second side. Only one bug landed on my spar. I left him there for now. (He may be my first passenger.)
After a few hours, I returned out to the garage (workshop/mancave) to do some riveting.
First step: Ignore Van’s suggestions to tape off all of the holes that don’t get riveted now. (I know the warning bells must be going off right now, but it all worked out fine. Just have to read the plans carefully.
I left clecos in all of the “do not rivet now” holes. 6 regular AN470AD4-4 rivets on the left, and some AN426AD4-4 (I think) rivets in the dimples on the right.
SEP 14 UPDATE: WHOA! Those 4 on the right can’t be set now, because the W-712 outboard rib will get riveted to these holes, too. Glad I didn’t get to happy with the rivet squeezer.
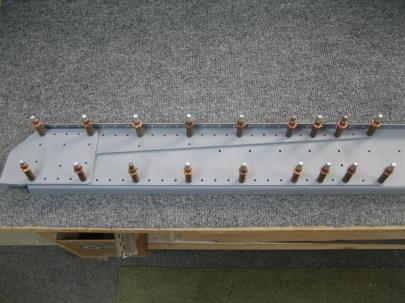
I didn't really mark anything here, because I didn't really start on riveting the fork on yet. Next post, I'll be very careful about what to rivet.
Then, I actually started riveting. I love my new Cleveland Main Squeeze. Squeezing these An470AD4- rivets is so easy now.
Oh, and I did 6 more at the W-707F doubler plate, but forgot to take pictures. 11 total. Also, I was mixing this and house projects over the course of a few hours, so I’m going to estimate it was about 2.0 hours today.
