Whoa, it’s been awhile since I actually got any work done on the airplane. I’m going to blame my exploding lawnmower (long story), business trips, and the wood floors project.
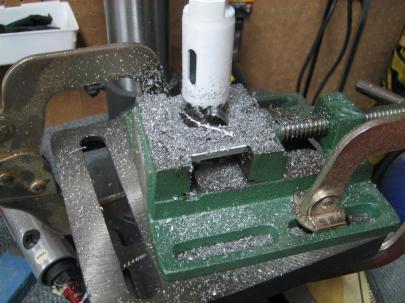
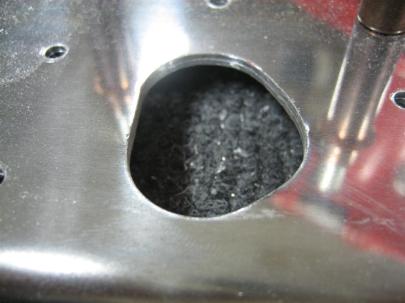
Anyway, I managed to find a good bi-metal hole saw from the aviation department at Lowe’s, so I chucked that thing up in the drill press and started in on the spacer lightening holes.
I am not really a fan of cutting those things this way, but I don’t have a fly cutter (apparently the one from Harbor Freight sucks), so this was the best I could do.
They actually turned out really nicely.
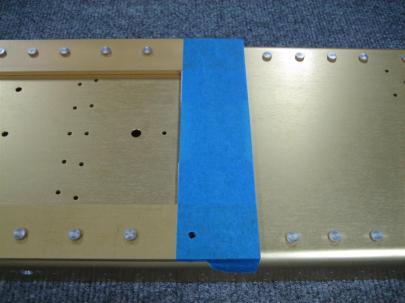
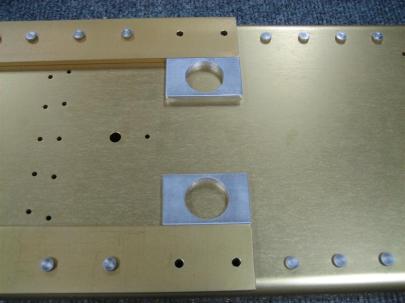
Like many other builders, I taped them down before putting the tiedown bracket in place, flipping the spar over, and matchdrilling the remaining 7 holes.
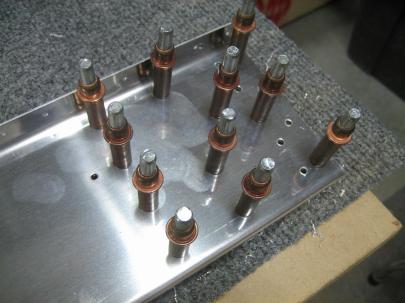
Then, I skipped a couple pictures, but basically You bolt the tiedown bracket, spacers, and nutplates in place and use the nutplates to backdrill the attach holes (small ones on either side of the bigger holes). They all turned out great, except for the upper left set, which for some reason are a little crooked. It doesn’t matter what the nutplate ear orientation is, I was just annoyed they didn’t turn out perfectly aligned.
Then, you have to countersink the nutplate attach holes (this side of the spacers must sit flush against the spar web).
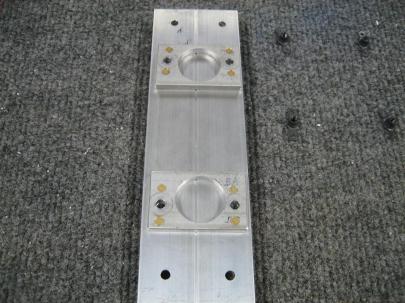
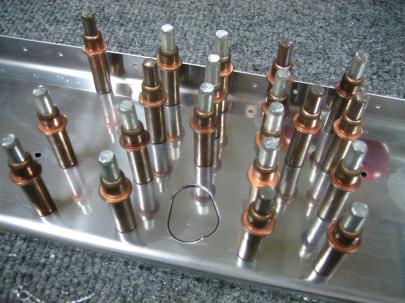
These rivets aren't set (I still have to prime all these pieces), but I just put them in there to see how my countersinks were. (The lower left one is a little deep, but this is thick spacer, so it shouldn't be a big deal.)
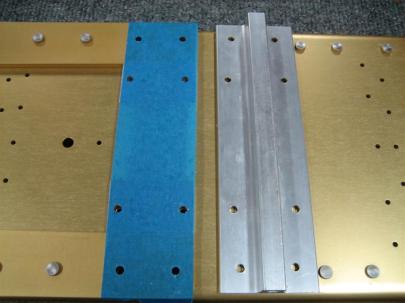
I don’t have any primer, so I decided to move forward (“aft”?…ha…airplane coordinate system joke) to the rear spar. After getting out the W-707A rear spar channel (make sure to grab the correct one, there’s a left and a right) and the W-707E and W-707F doubler plates, I took the blue plastic off of everything and started getting things clamped in place.
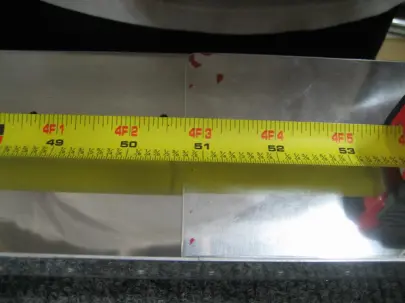
The W-707E gets laterally aligned by measuring; the outboard edge of the doubler plate should be 50 3/4" from the outboard edge of the rear spar channel. Easy enough.
Then, I fired up the air drill for some matchdrilling.
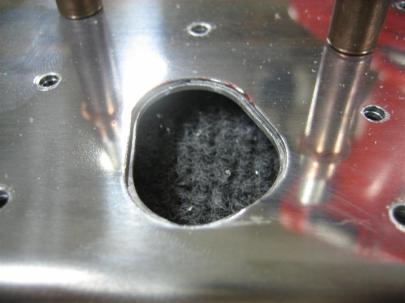
After some though about how to do this, I decided to forego the step drill (Unibit) trick (I don’t have a Unibit…how’s that for a trick!) and just drill some holes and then get the dremel out.
It turns out that all the little fancy metal saw and milling tools aren’t really as easy to use as the 1/2″ sanding drum . Save yourself some time and just get the sanding drum out. Very easy to control.
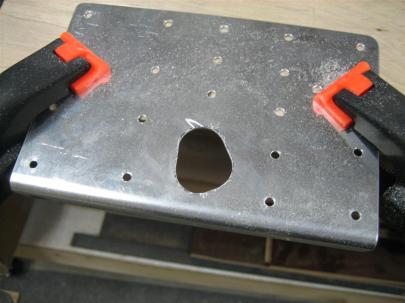
Looks pretty good to me. (This crazy little torture device that looks like a saw got away from me and cause that scratch. I'll have to buff that out.)
After clecoing back to the spar turns out the thickness of my line made my initial pass a little small. (Better small than big.)
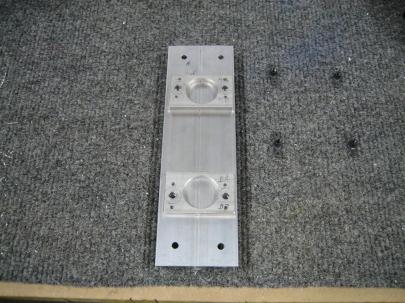
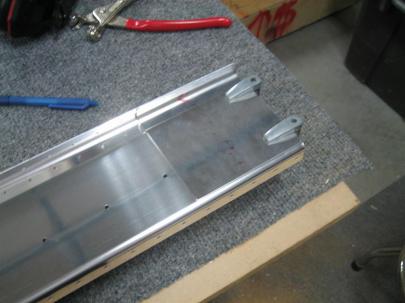
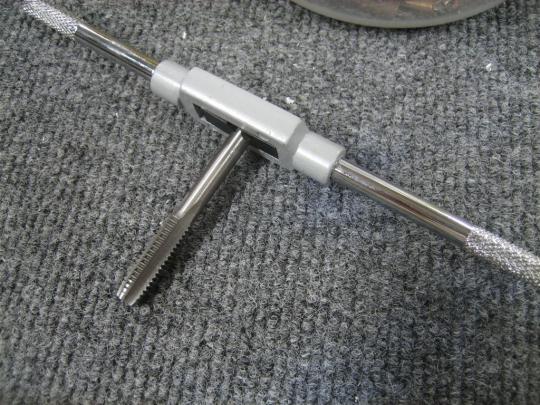
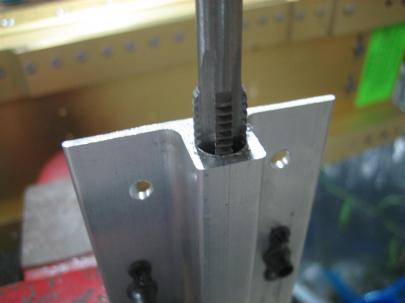
I totally forgot. Even though I don’t have primer to finish up the tiedown bracket, I can still tap the tiedown hole.
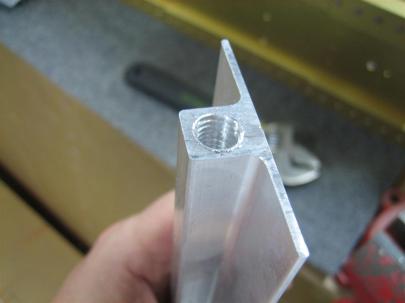
After having a hell of a time getting started, they turned out really nicely.
I managed to get both brackets done, even though I really haven’t started on the left wing yet.
I ended up going to 1 1/4″, even though the directions tell you to only go 1″. Some other builders had to go deeper once they actually got their eye bolts, I figured it would be easier to do now than to wait until the brackets are in the wings.
2 productive hours today.
