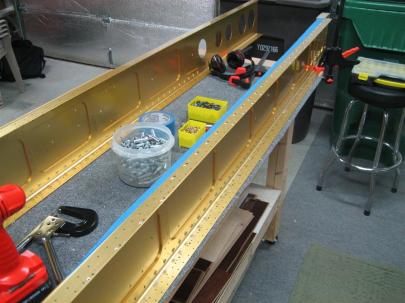
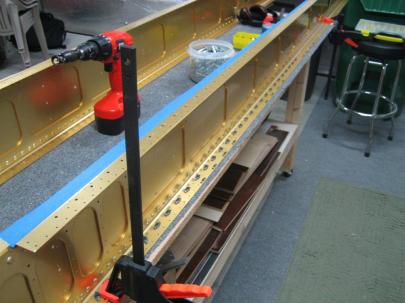
Well, today was the first official wing construction day. While Van’s is trying to figure out what to do with my damaged left spar, I figured I should get started on the right spar.
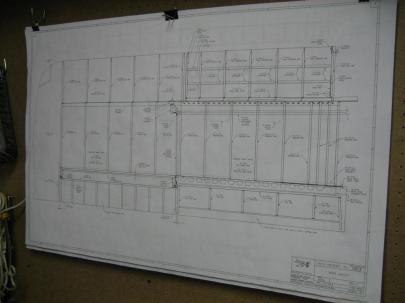
First thing…yup…a plans change picture!
The plans for the wing are a little different. There are about 4 separate sheets of different views for the wing. You guys get to see just the general layout one.
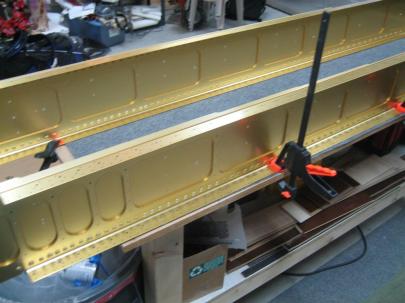
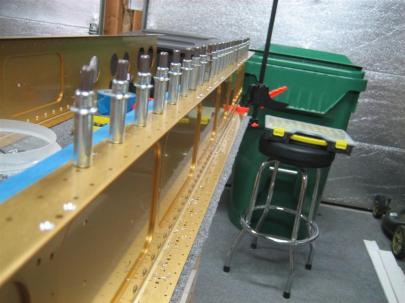
Now, let’s get to work. First thing, I very carefully put my beautiful right spar on the edge of the workbench and clamped the flange down very lightly. The spar will tip over onto the table (away from the camera) if the clamps let go, so I’m not too worried about clamping them down too much.
Every builder that has a website makes a comment here about how the construction manual really holds your hand and steps you through the process on the empennage, but then kind of just makes general statements for the wing. For example, the only real construction step on the first page of the wing section says:
“To begin wing construction, rivet the tank skin attach platenuts to the spar as show in DWG 16A, Detail A. Machine countersink the platenut attach holes in the W-706A spar flange.”
Wait. What? That is like 1000 steps, condensed into one statement. It ended up taking me 3.5 hours to do that one step (I admit, I also delved a little into a step a few steps down):
“Attach the K1000-06 platenuts for the W-822 access plate to the W-706A flange. See DWG 12.”
Fine. I see how it’s going to be.
Let’s get started.
A lot of builders start out thinking they should make a nutplate jig and countersink the screw holes before riveting the nutplates (sorry Van, I call them nutplates) on so they can use the jig as a guide for the c/s pilot to avoid chatter. Van’s suggests using the installed nutplates as the pilot guide. After those builders spend some time making those jigs, they eventually abandon the idea and fall back to the Van’s method. I’m going to do something I don’t normally do and FOLLOW THE INSTRUCTIONS. Sometimes, I try to get cute with extra ideas and fancy engineering solutions, when really I should just do things by the book.
So I grabbed my countersink with a #40 c/s bit, tested in some scrap, and positioned the countersink cage over one of the nutplate attach holes.
The c/s pilot didn’t fit. What?!
You mean I am going to have to drill all of these holes out to #40 first? Ugh!
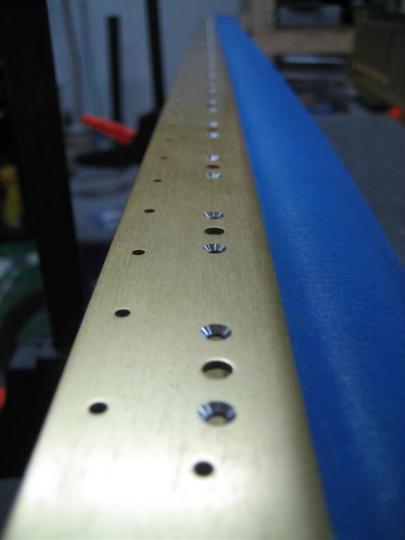
After drilling every one of the attach holes out to #40, I finally got the countersink and cage loaded back into my cordless drill (slower and more trigger feathering ability than the air-drill) and got to it. Here are my first 10 countersinks.
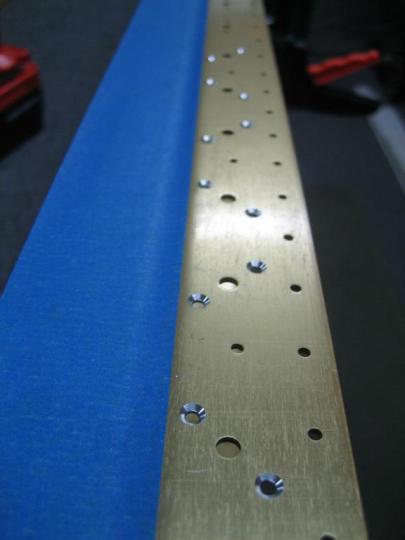
The blue tape is to prevent metal shavings from getting lodged in between the spar cap bars and the spar web.
Anyway, I continued down the row, being very careful to slow myself down and not to fall into too much of a routine. I could feel this was going to be one of those areas where I would be going through the motions and mess something up. (I did make a mistake while drilling out all the holes to #40. I accidentally drilled out a skin attach hole, too. No biggie, but a perfect example of moving too quickly in a habitual way.)
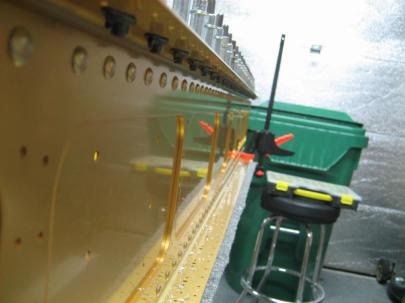
I stopped about every 6 countersinks and retested my countersink depth using a AN426AD3-4 rivet. They are all perfect. Here is the end of the row, looking back toward the “diagonal” wing-walk attach holes.
Then, I flipped the spar over and did the bottom flange. Also, there are some access panel nutplate that get attached now, too. I went ahead and countersunk for those attach rivets, also.)
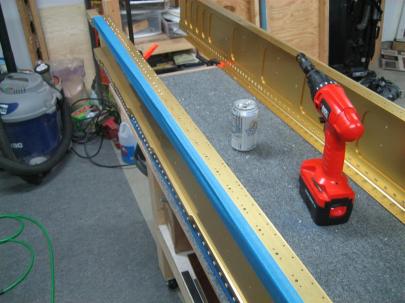
Bottom flange, sobriety-maintaining Sprite-zero, and the girlfriend's cordless drill I'm borrowing (pronounced "you can have it back when you pry it from my cold, dead hands"). Thanks girlfriend!
Phew, that was a lot of countersinking. (I think I counted 144 total countersinks for just the nutplate attach holes. There’s another 72 for the screw holes (in the middle of each set of three holes) I’ll have to do later.)
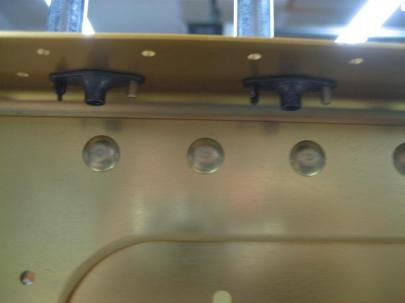
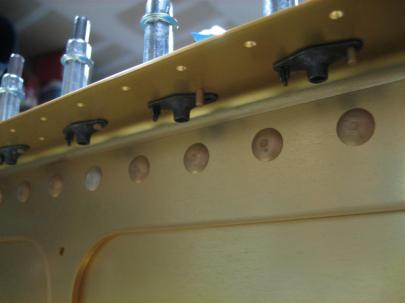
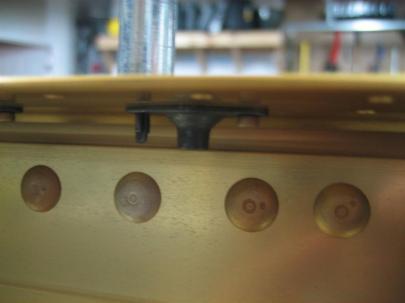
Next, I grabbed some K1100-08 nutplates, some silver 3/32″ clecos, and some AN426AD3-4 rivets and started getting ready. My plan is to cleco the nutplate to the spar, insert one rivet, then after riveting that one, take the cleco out and rivet the other side.
Ahh, this slower, more thoughtful approach is paying off. Can you see the error that I almost made?
I can’t remember why I took this picture. I think I just took out all the clecos, and I thought it looked cool.
No pictures of the second rivets, but here’s one of the other (now top) flange.
Anyway, I set all the nutplate attach rivets on the upper flange, and then called it a day. So I got to cross off the two statements in the construction manual I highlighted above, and next up is to use the installed nutplates as c/s pilot guides for countersinking the screw holes.
Oh, and then I get to repeat on the other spar.
3.5 hours of countersinking and riveting today. 144 rivets, 1 drilled out (the rivet split in two!). Good times.
