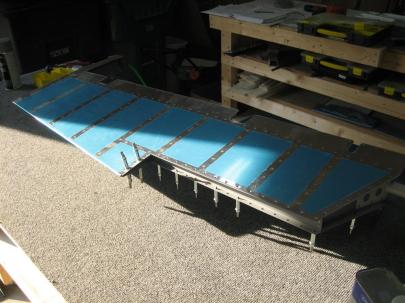
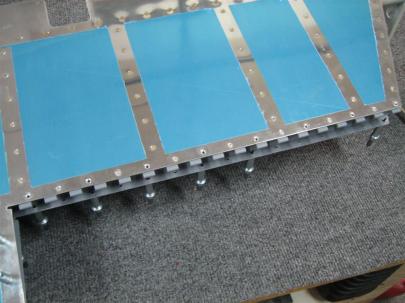
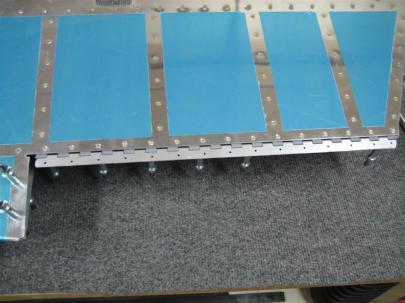
I wasn’t very good with the pictures today, but I did get a significant amount of work done today. I basically did a lot of skin riveting, and all went well, with a few exceptions.
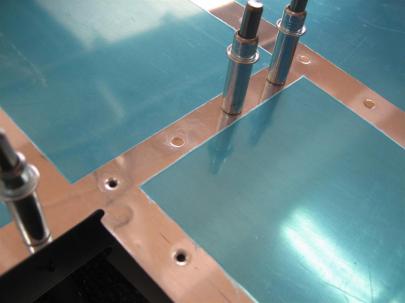
First up, try to use solid rivets on the outboard part of the trim spar where they instructions say you can use blind rivets.
The top row (actually the bottom of the elevator) turned out well.
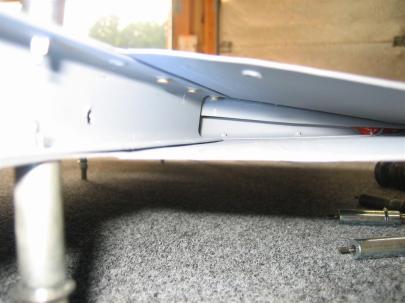
These aren't the prettiest or most perfect shop heads, but they are within spec, and will do the job.
Then, I flipped the elevator over and did the top (which was harder, but actually turned out better than the bottom). I forgot to take pictures though.
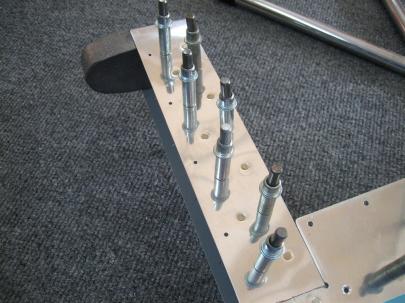
I moved on to the counterbalance skin and set have the rivets, then removed the clecos and set the other half.
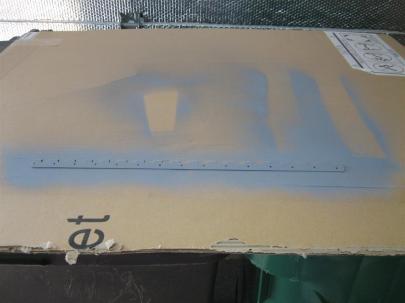
Wait a minute! I’m going to need that trim tab hinge (forward half) primed so I can rivet it on the elevator.
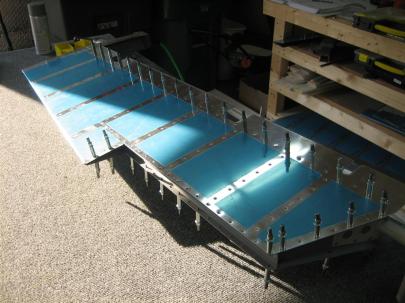
Moving on to the rest of the skin, here are half of the rivets set in the leading edge and inboard edge.
After the hinge dried, I clecoed that in place and got to it.
Then, I flipped that bad boy over and finished the other side.
Wow, big day today. 172 rivets, four of them drilled out. (Notice how I just glossed over the riveting of my trim riblet? That’s because it was about an hour of my two hours outside. What a pain in my aft.)
