Sorry for the tardiness on the commentary. Here it is.
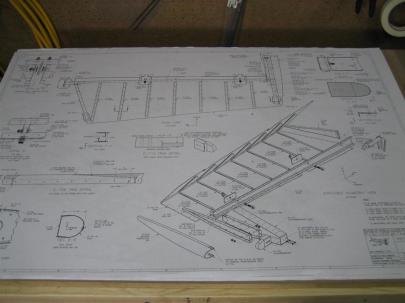
I decided after riveting the trim reinforcement plate that I will stick with the right elevator for now. Of course, here is the obligatory plans picture.
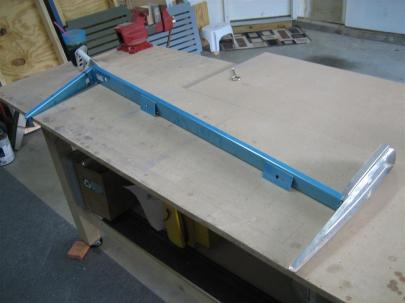
Instead of following the directions to start in on the stiffeners, I sorted through my lower workbench shelves and pulled out the parts for the right elevator skeleton. I just laid them on the (very dirty) workbench and grabbed this picture.
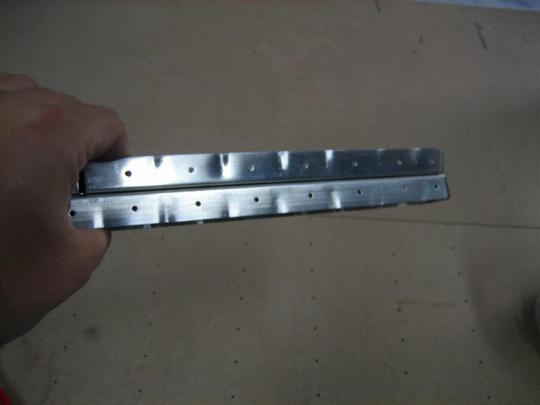
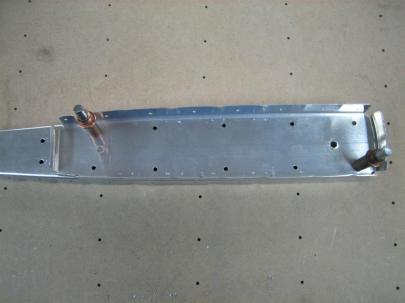
First up, prepare the two end ribs (edge finish, then flute).
I can’t remember why I took this picture. Maybe after I removed the blue vinyl?
Then, it’s time to match-drill the two end ribs together.
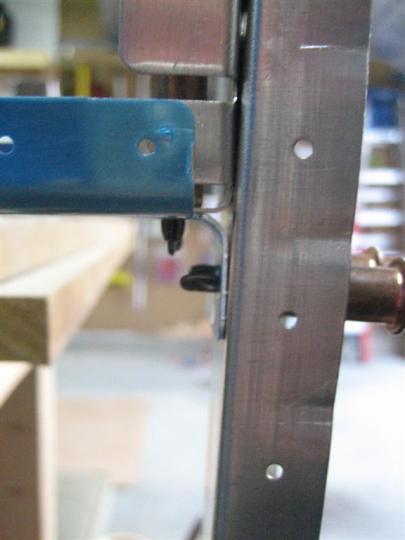
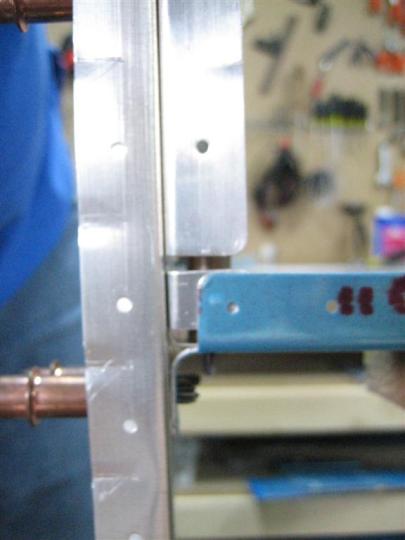
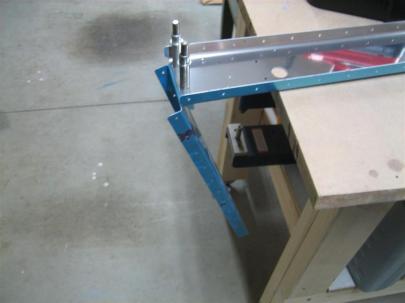
After that, they want you to cleco the two end ribs onto the rear spar. You can see some misalignment here.
After some manipulation via fluting and flange straightening, I managed to get everything lined up and match-drilled.
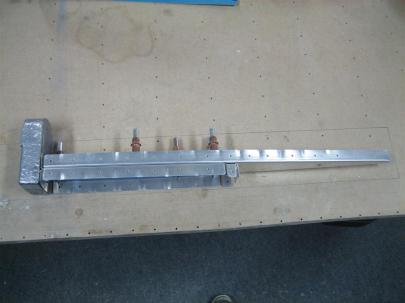
Here’s the outboard assembly after match-drilling.
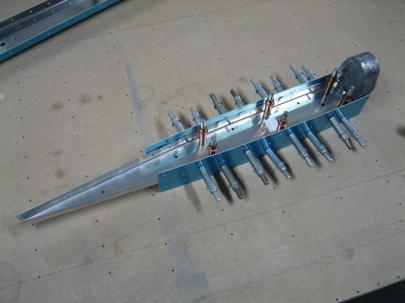
Next, they want you to cleco in the counterbalance skin with the counterweight.
I read on some other builders’ sites that it was difficult to cleco the counterbalance skin on the rib assembly. I didn’t have too much trouble, but it was definitely easier to work front to back.
Next (before going back to the counterweight for drilling), I clecoed on the inboard rib. These are matchrileld to #40, then dimpled and set with flush rivets on the front web of the spar. The reason? The elevator horn must sit flush on this surface. You’ll see later.
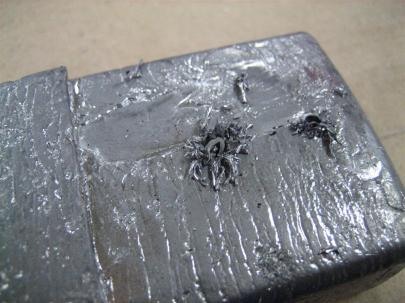
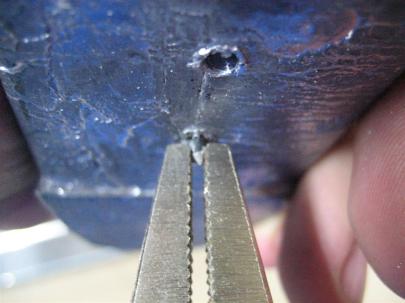
Now back to the counterweight. Van’s wants you to matchdrill these to #12. I started with a #40 and worked my way up, blatantly ignoring the advice to use drill lubrication. Of course, I broke 3 bits before I subdued my own stubbornness and moved on to something else.
Anyway. I moved on to the skeleton.
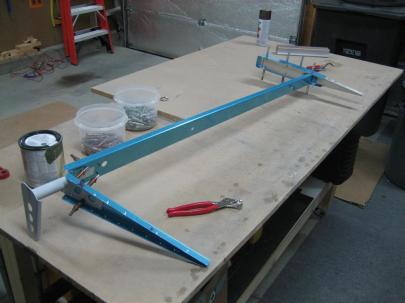
Here's the skeleton clecoed together and match-drilled. You can see where the elevator horn will sit flush on the spar web necessitating the flush rivets between the spar and the root rib.
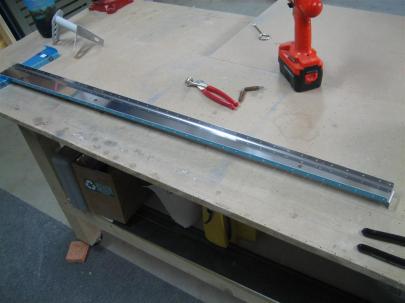
Then, I spent a little time inside on the stiffeners. I just rough cut them with snips to the general size.
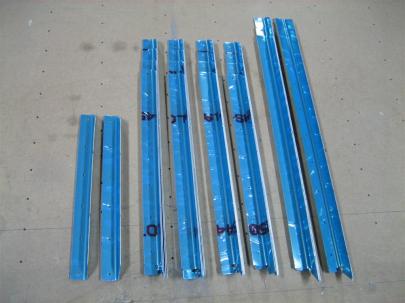
These are for both elevators, some of these will be cut down further for the smaller required stiffeners between the trim spar and main spar on the left elevator.
2.0 hours today.
