I didn’t have a very good night in the shop tonight, mainly because I ended up not being able to use the castle nuts on the counterbalance. Read on.
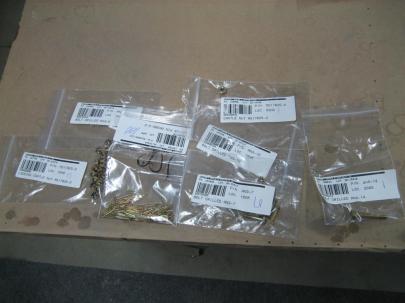
One thing I noticed was that the bolts ACS sent me were not the same size as the bolts that vans sent me. I need to look into this before using any of them. It might be something obvious, but I need to research this a little.
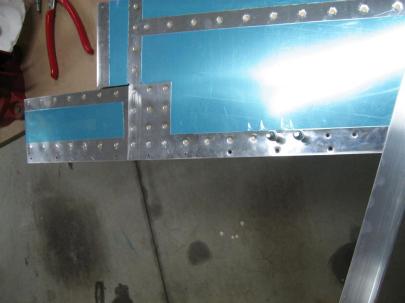
While I was packing stuff away, I found this bearing in my hardware box. Notice anything funny? Like the NUTPLATE THAT IS SUPPOSE TO BE INSTALLED ON THE RUDDER?
AHHHHHHH!
But hey, those are the two rivets that didn’t give me any trouble before, so maybe they’ll be easy to drill out and replace. (Yeah, right.)
Anyway, after much fiddling around with castle nuts, I re-read AC 43-13 and decided these locking nuts would be sufficient for the very permanent installation of the counterweight.
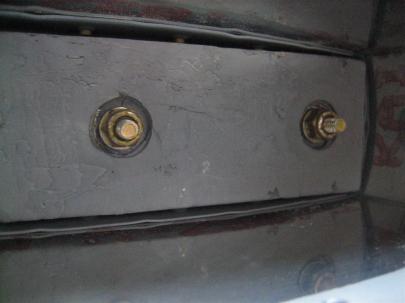
Counterweight installed. Looks like a lot of threads left over, but I double-checked, and it's right.
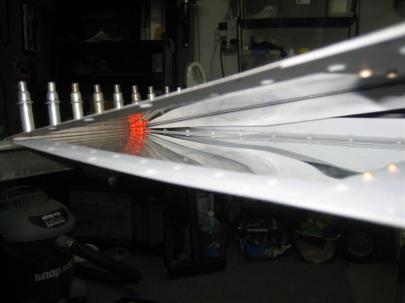
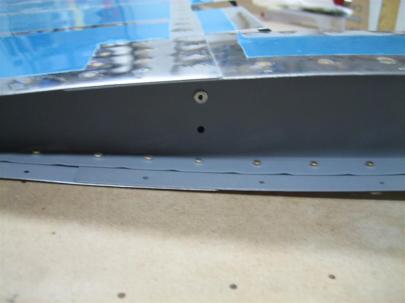
Before installing the tip rib, I snagged a picture of the RTV I installed on the last rivet of each stiffener set.
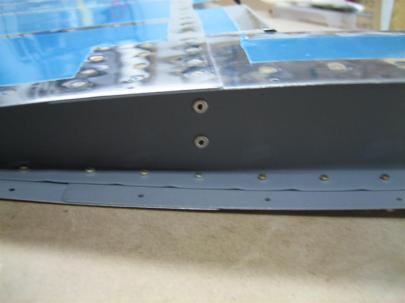
Another shot, just for fun.
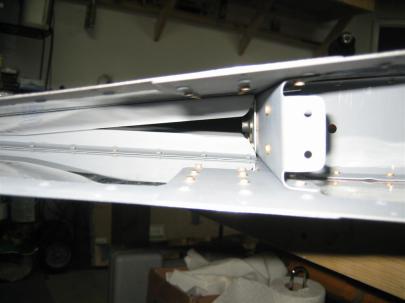
After squeezing 30 of the easy to reach rivets, I snagged this picture of the top of the rudder.
Then, out of order from the manual (supposed to do the blind rivets first), I pulled the LP4-3’s out and got those in.
I still have some things to do on the rudder:
- Let the pro-seal dry and rivet the trailing edge.
- drill out rivets and install missing nutplate.
- Drill out bad skin rivets (2, I think.)
- Tips
But, I’m getting close to another dog picture, which is always good.
