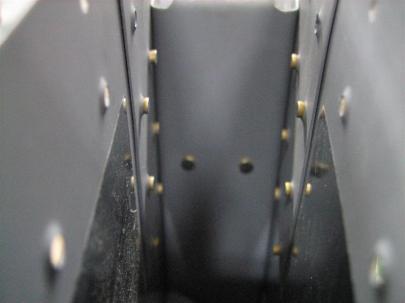
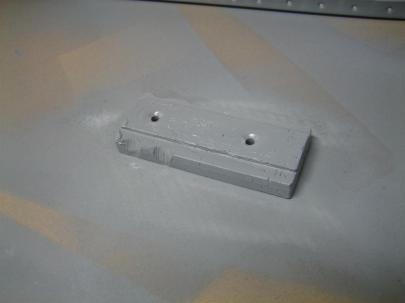
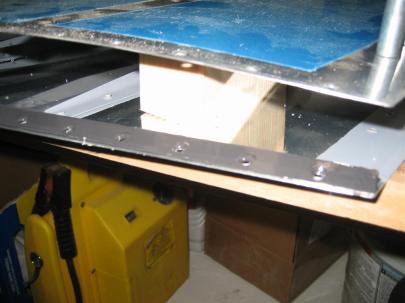
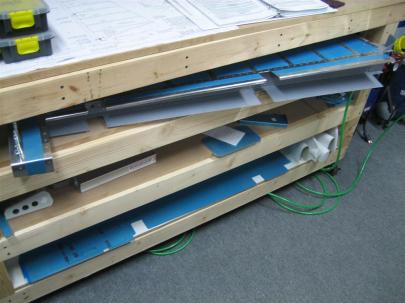
After last night’s bad fitting trailing edge, I decided to mark where the dimples weren’t sitting properly, and enlarge the countersink ever so slightly.
The problem is that if you make the countersink large enough to accept the dimple perfectly, you create a knife-edge on the wedge. I guess that is why they have you use the aluminum as a drill guide for the countersink bit. After deburring the few knife edges that I got, it ended up working pretty well, but some of the holes are enlarged a little. With the pro-seal and the double-flush rivets, I am not too worried, but it still bugged me a little. It appears other builders have run into this issue as well.
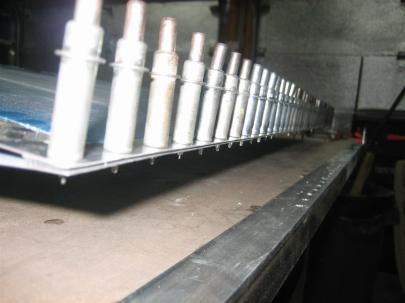
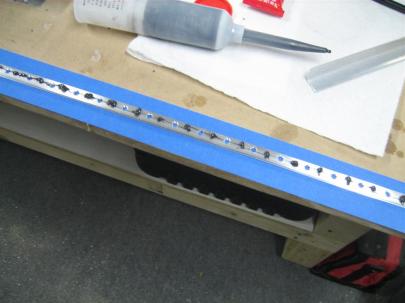
Before I thought I would be able to tackle the rest of the trailing edge today, I got some of the “not-reachable-with-the-squeezer” rivets. here’s a shot of some shop heads for the counterbalance skin to skin rivets.
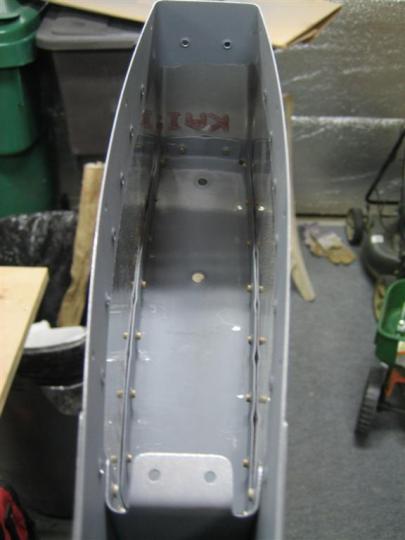
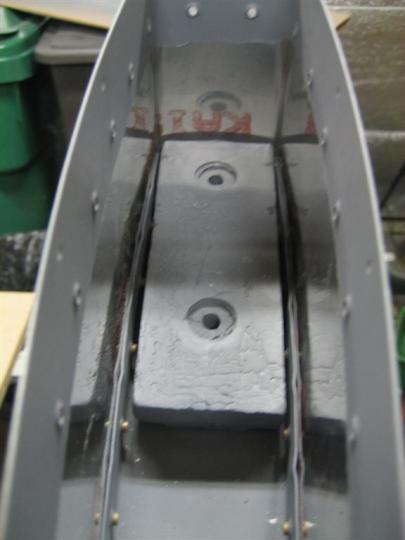
I also finished up the rivets for the counterbalance rib.
Then, I installed and removed the counterbalance enough to be able to file away some weight so the lead cleared the shop heads of the interfering rivets.
I also finished dimpling the tip rib and got it edge-finished, cleaned, and primed.
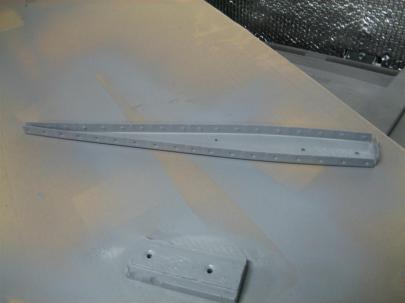
Waiting for primer to dry is like watching a pot of water boil. I can't complain though. It's dry to the touch in about 15 minutes.
Even though that was plenty of work for the day, I decided to tackle the trailing edge. I had everything I needed (Lowe’s didn’t have any RTV, but then I remembered I had some at home from my motorcycle habit, so I was in luck).
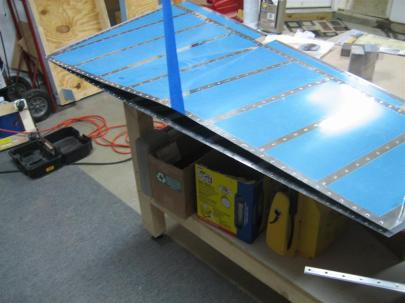
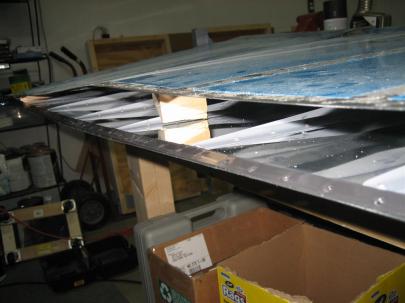
Here's me attempting to design a way to keep the trailing edges apart. This sucked, and I ended up using scrap 2x4 in between the stiffeners.
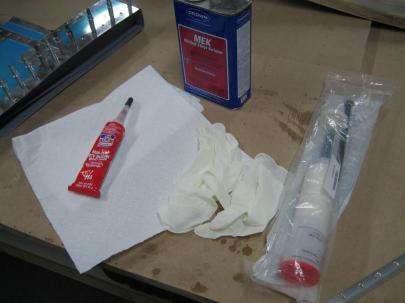
Here’s my tools. RTV, MEK, gloves (I used about 8 pairs) and the tank sealant.
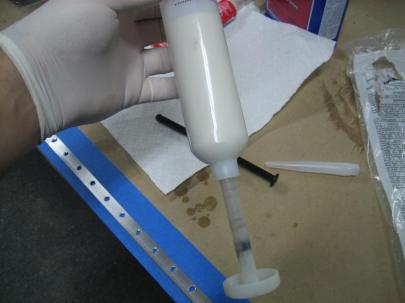
Don the gloves, and get ready to mix. I had to read the directions about 15 times before I understood. The hardener (I think) is in the tube part of the plunger. You stick the black piece (behind the big tube) into the hole in the plunger, and as you push the plunger from the bottom to the top, you push the black part so the hardener in the plunger is expelled into the larger tube. Confused yet?
After pushing the black piece (back on the table now) up to start the mixing process, you twist the plunger head while moving up and down, which starts to mix.
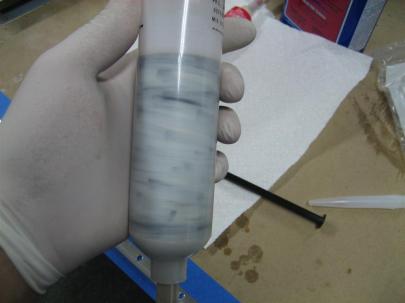
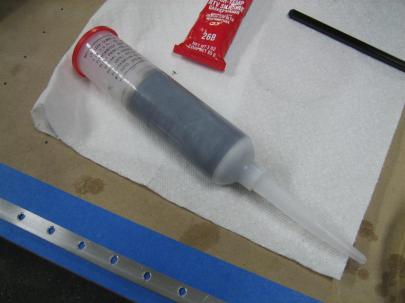
This is after about 75 strokes, which is what the directions say you have to do. I had to keep going. (I may have been doing something wrong, I don't know.) I kept going after this to get a more uniform "black death" color.
Then you unscrew the plunger shaft and screw in the nozzle. Okay, where is my caulking gun? I don’t have a caulking gun. OH MY GOD I FORGOT A CAULKING GUN.
That’s okay, I just stuck the handle of a large screwdriver down the tube and it worked great.
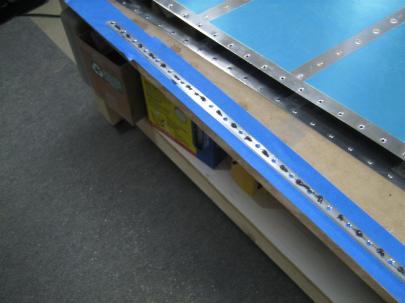
Here's one side, ready to be spread out. I put a dab between each hole, and then used a scrap piece of aluminum to spread it out nice and evenly.
After that step, things started getting messy, and I had to change gloves a lot (it gets everywhere), so I stopped taking pictures. After I got both sides covered, I laid it into the scuffed and cleaned trailing edge area of the skin.
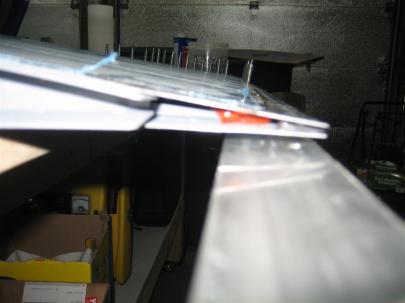
Of course, I did a marvelous job putting a perfectly penny sized glob of RTV on the last (aft rivet) of the stiffeners before I removed the wood spacers and closed up. (The wood spacer near the bottom of the rudder was a pain in my ass. I lifted up the trailing edge a little with the top skin, so it stopped squeezing the block, and of course the block slid down toward the front of the rudder. Of course now I can’t let go, but I’m too far away from the other workbench to reach all of my long-reach tools. Ever see one of those situations where a guy has one foot in a boat and one foot on the dock, and he’s stretching and stretching? That was me. Except I finally reached a BFS (big freaking screwdriver) and managed to get the block out without contaminating any tank sealant or RTV.
Then, I got the rudder clecoed to the angle, wiped off any excess sealant, and moved the hole thing to the top shelf of my workbench.
I think it was 11 rivets. 2 hours before the trailing edge, one hour for the trailing edge. The next post is still from today, but I am tracking it in another section and in another column for total time, so it’s getting its own post.
