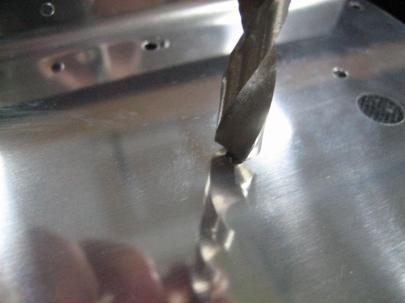
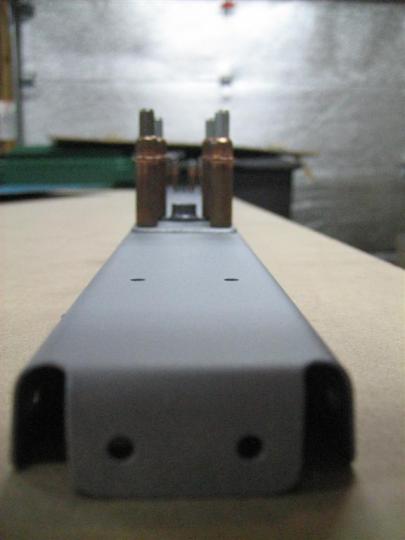
I was getting the itch to work on the airplane a little, so I tackled the R-902 Rudder Spar today. First thing, deburring. I know I have plenty of pictures of deburring , but I took a closeup of a few holes.
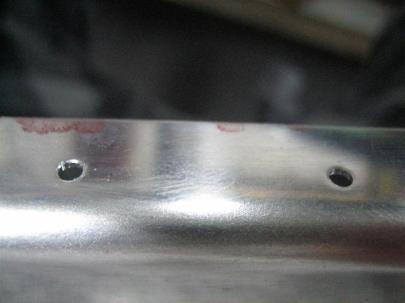
Hole on the left is deburred, hole on the right is not. This is the topside, though, so the raw hole on the right doesn't even have really bad burrs. The weird crap on the left is just a piece of metal left over from deburring, it's not really messed up.
Here’s an action shot of me using the oversized bit to deburr.
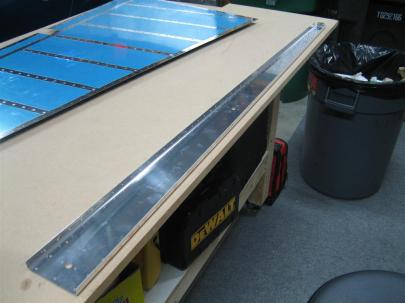
Here’s the spar, deburred, and ready for scuffing, cleaning, and priming. Sorry for all the pictures tonight.
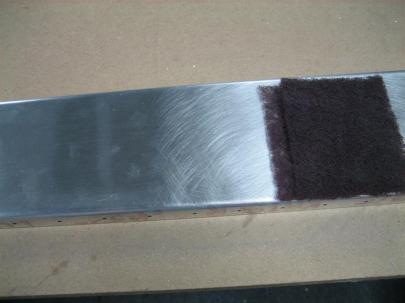
Here’s a picture of me scuffing with my maroon scotchbrite pad. For some reason, I like this step in the airplane building process.
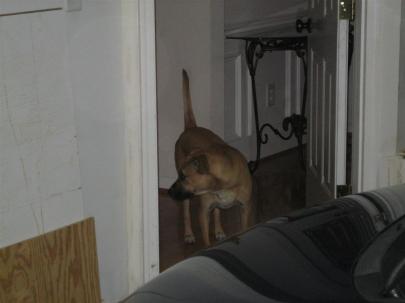
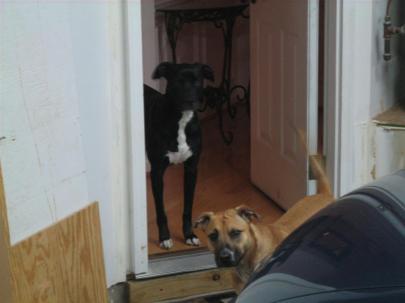
Then, Ginger noticed I was in the garage working, and since the garage temperature was the same as the house tonight, I left the door open.
Jack came to see what was going on.
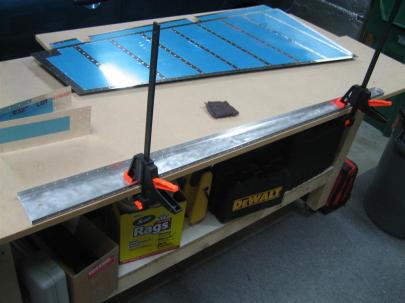
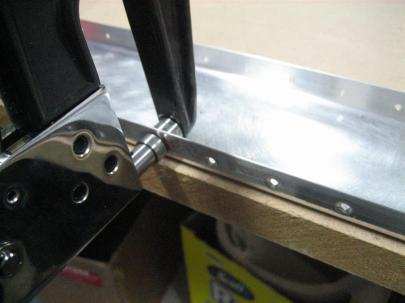
To scuff the inside, I decided to clamp the spar down to the table. It makes scuffing slightly easier, and I can use two hands on the edges.
Next up, dimpling. The construction manual warns to maybe grind down the dies to make sure not to gouge the spar web. I didn’t seem to have any issues with clearance.
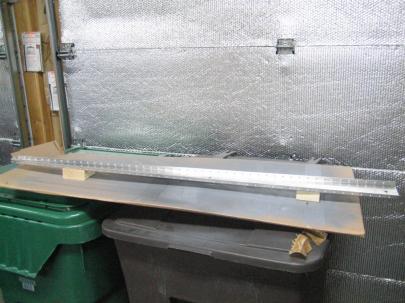
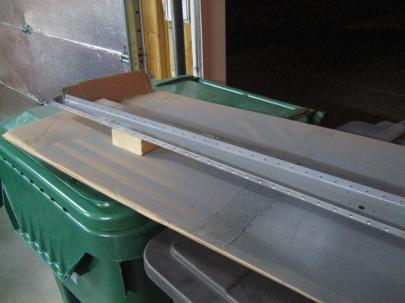
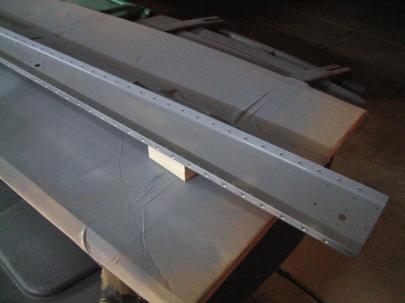
Then, I took the spar inside and cleaned it with dawn dishwashing detergent. Then back outside to dry for priming. Here’s the spar in my fancy paint booth setup.
I did the forward side of the spar first. (Notice the open garage door, I’m trying not to kill too many brain cells with the priming.)
Then, after going inside to refill the wine glass (to let primer dry), play with the pups (let primer dry), and hang out with the girlfriend (let primer dry), I went back outside to prime the aft side of the spar.
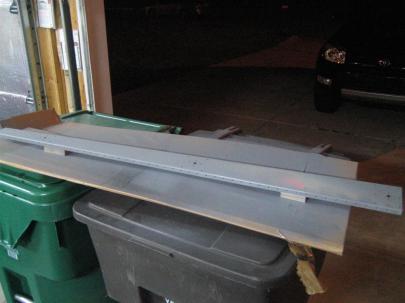
The bright orange thing on the spar near the right 2x4 support is the reflection of a warning sticker above the garage door. The primer is still wet. I didn't see this until I uploaded the pictures.
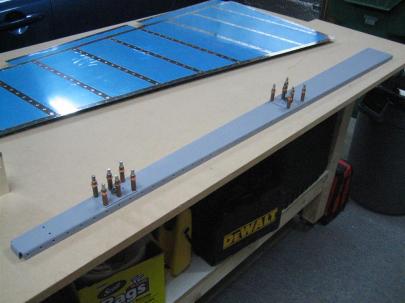
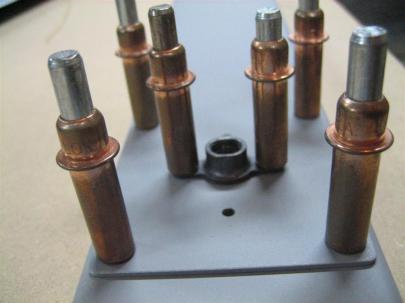
After another half hour or so, I put the spar back on the table and clecoed the R-606PP (Lower Spar Reinforcement) and R-607PP (Middle Spar Reinforcement) to the spar, along with the appropriate K1000-6 nutplates.
A closeup of the nutplate
That was pretty much it, except for more experimentation with the “macro” setting on my camera.
1.5 hours today. It felt nice to get a big piece like the spar done.
