Yes, Friday night! That means instead of being social, I get to stay home and work on the airplane. Wuhoo!
Anyway, after a good workout, I spent a couple hours in the airplane factory. First thing, I grabbed the two primed stiffeners from last night, and got them backriveted in.
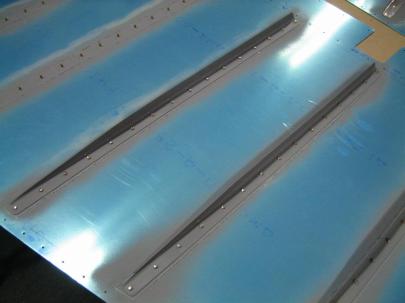
Then, I edge finished, scuffed, cleaned, and primed the last two stiffeners on the right skin. Once they were dry, I got those installed permanently, too.
I couldn’t help myself. I flipped the skin over, and removed the tape to reveal a very smooth skin. I like backriveting. The backriveting plate left some very very very small marks within about a dime sized area around the rivet heads, but I know those will polish out.
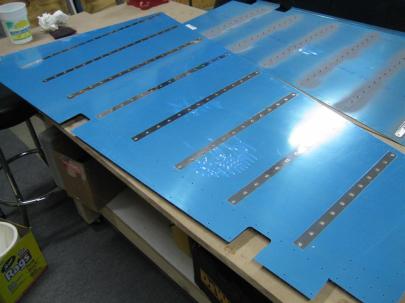
A finished right rudder skin. Those wrinkles in the vinyl in the middle where there when the skin was delivered. It didn't look like there was any damage underneath.
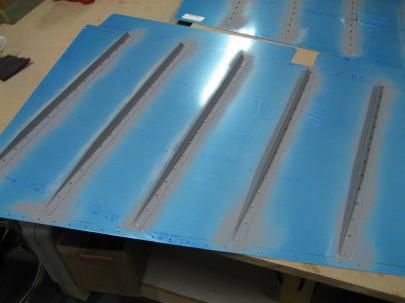
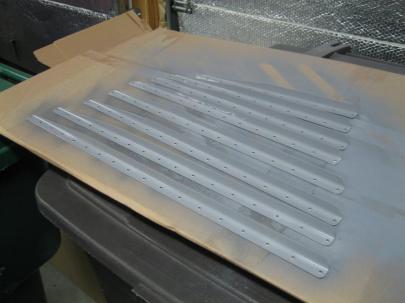
After spending some time admiring the right skin, I decided to finish the edges for the left skin’s stiffeners. After that, they got scuffed, cleaned, and set up on my fancy priming bench. Here they are ready for primer.
While those dried on one side, I decided to dive on in to the rudder skeleton. First, they have you cleco the R-904 root rib to the R-902 Spar. Tough step, but I managed.
Then, because it was late, I had to skip the steps with the drilling and the fabricating the “shim” etc. I moved on to clecoing the spar reinforcement plates in. Here are the top two.
Then, they have you grab the R-909? (tip rib) and R-912 counterbalance rib and cleco those to the spar after fluting, if necessary. It was necessary.
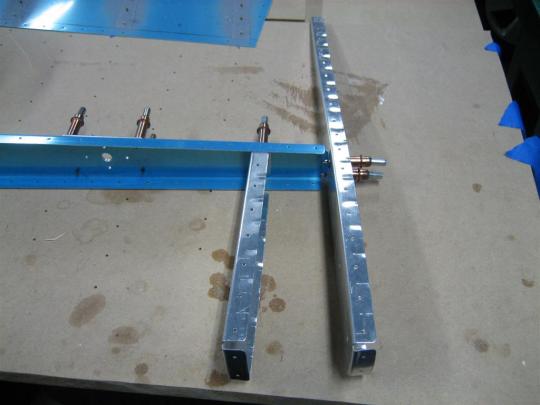
R-912 Counterbalance rib on the left, R-909 tip rib on the right. You can see I fluted the tip rib too much toward the aft end (top of the picture). I'll straighten it out tomorrow.
After that, they have you cleco the dreaded counterbalance skin to those two ribs. I’ve heard bad things about this step (mostly difficulty due to bad fit). Well, it was slightly difficult, but mainly due to perfect fit. If you start from the front (bottom right of the picture), everything will work out, but the fit is pretty precise. There is no slop in these prepunched kits.
Then, I flipped the assembly over and clecoed on the left side of the counterbalance skin.
By then, the remaining stiffeners were dry on one side, so I shot the other side with primer and headed in for bed. (For blogging, and then bed.)
66 rivets today, all backriveted. Also, I passed 1000 rivets set today. A little bit of a milestone, although I think there are something like 20,000 rivets in the whole kit. So, I guess I’m 5% there.
Good night.



I read 30,000 rivets for the rv7/7a
Crap, that means I’m only 3.5% complete.
Actually, that feels about right.