Last night I spent a little bit of time rearrange (cleaning) out the workshop. Now, I’ve got a little more room to maneuver. (Mostly, I just moved my second workbench a little left, and moved the shop vac over by the compressor, now the walkway to get into my workshop area is a little more open.)
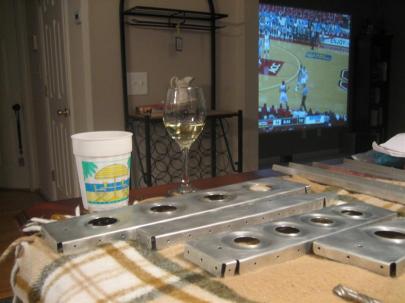
Tonight, I started by disassembling the vertical to start the deburring, dimpling, countersinking, cleaning, priming, and then reassembly dance. Here I am set up in front of the UNC game for some deburring.
After what seemed like a thousand holes to deburr, I broke out the 3/32″ tank dimple dies and the 1/8″ regular dimple dies (for the rear spar) and got ready to dimple. Dimpling is much easier than deburring, and fun, too. I know deburring is important, but I feel like I’ve made progress after dimpling.
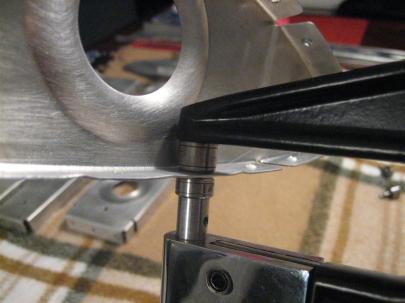
Then, I started dimpling the ribs and spars. Here are the 3/32″ tank dies in action.
Here I am using the 1/8″ regular (shallower) dimple dies on the rear spar. I had to triple check both the holes and the direction before proceeding. This is correct, I think. (Flush rivets on the forward side of the spar.)
After finishing dimpling, I grabbed the skin and brought it inside to devinyl. Devinyling is a lot easier indoors, where the vinyl is room temperature. I tried pulling off the horizontal stabilizer vinyl in the garage when it was near freezing, and it kept tearing and was very stiff.
After using the soldering iron and a wooden straight edge (the metal straight edge carries heat away too quickly, and you don’t get a melt line), I got to pull off the vinyl. For some odd reason, I find devinyling very cathartic. I love pulling off the blue to see the shiny aluminum underneath.
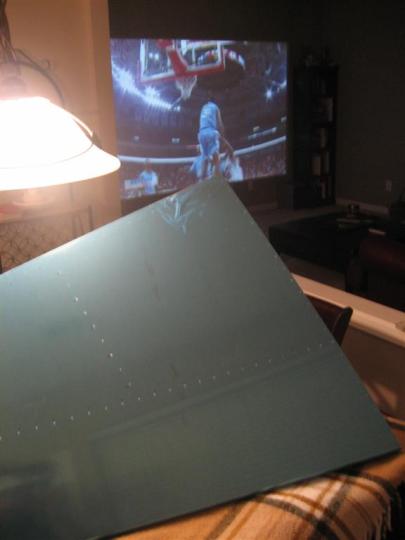
Ready to pull off the blue vinyl on the exterior of the skin.
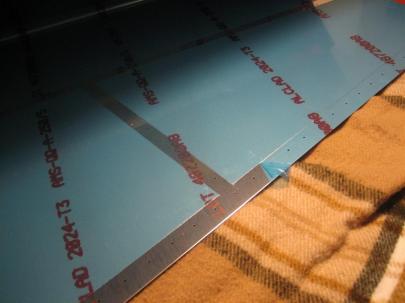
And finally, the vertical stabilizer skin devinyled (and everything carried back out into the garage).
Here are the ribs and spars all deburred and dimpled. (I still have to countersink the front side of the VS-803PP.)
Next up, countersinking the rear spar reinforcement then deburring, dimpling, and scuffing the skin. Then priming, then I get to put this sucker together.
I can’t believe how much faster the vertical is than the horizontal. Part of it is the learning curve, but I think they should have you start with the vertical. Much easier, in my opinion.


